where the plywood sides and bottom are longer than the now standard 8 foot lengths which are all that is available.
I decided that making a longer sheet of plywood then cutting it out would be easier than joining cut out pieces.
There are several ways to join plywood end-on to make a longer piece.
I chose to use the Scarf Joint which may be a little more involved to make, but creates a board
which is easier to use in construction.

The recommended ratio for quarter inch thick plywood is 1 to 12 Which comes out to 3 inches long.
Making the Scarf Joint

Stack both sheets of plywood on the supporting table and separate them as illustrated above.
Clamp securely. Pencil mark the upper area where to remove material.
Use very sharp plane or belt sander to remove the part labeled in light brown.
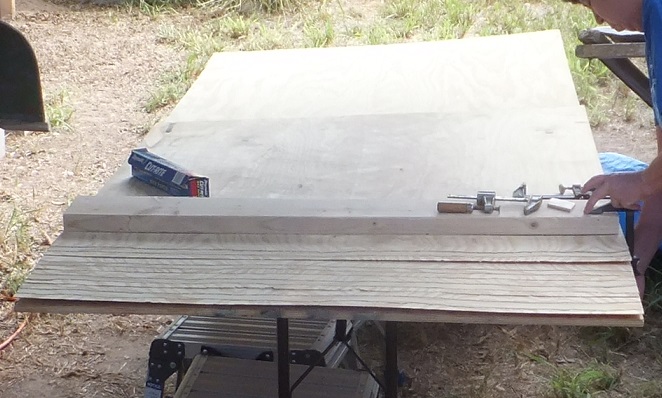
- - Angle cut stack - -
In this case 4 sheets of plywood were stacked to save time and prepare for 2 scarf joints at the same time.
Un-clamp then add extention to table to support the glued up scarf joint.
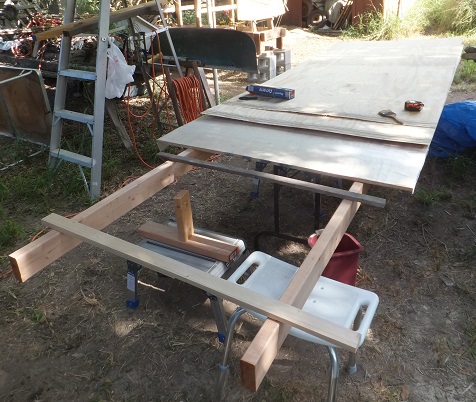
- - Scarf table extended - -
I clamped 2x4 to the underside of the table to extend it,
then put a couple of strips the same width as the table top to support the scarfed boards level with one another.
-

- - Scarf joint on the table - -
When using epoxy you must first paint un-thickened epoxy on both surfaces to be in contact
and give it a minute or two to soak into the wood.
Then cover the surface to be joined with a reasonable thickness of thickened epoxy. I used wood flour.
There are many other thickening agents. Use enough to fill any gaps or un-even parts of the joint.
Drive 2 small brad nails (staples might work) through the scarf area to keep the pieces from sliding apart when under pressure.
With all the epoxy in the joint it will become quite slippery.
Remember to lay a generous amount of waxed paper - plastic wrap or other slick surface wrap - both under and over
the total length of the Scarf to prevent epoxy-ing the whole structure to your table.
-
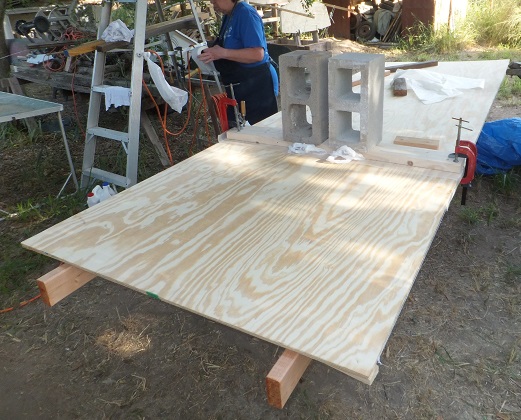
- - Scarf glued clamped - -
- 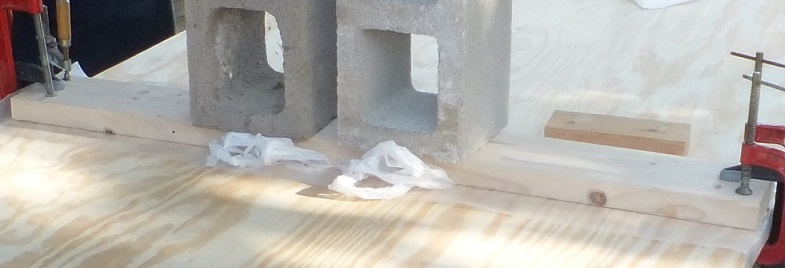
- - scarf clamp detail - -
The lumped up plastic bags in the middle adds pressure to the middle of the scarf where the 2x6 might bend.
Note the waxed paper running under the 2x6 the full width of the scarf.
I actually stacked 2 scarf joints and blued both at the same time - wax paper between the 2 so it will not stick the 2 joints together.
Note that I scarfed only 4 feet on the end of a 4x8 sheet of plywood because I did not need a really long piece.
After the length of plywood sheet is scarfed together and the epoxy cures you can cut out the side or bottom piece as needed.
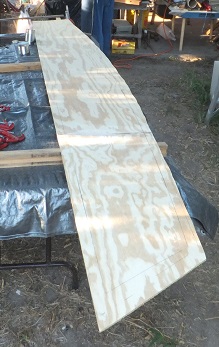
- - scarfed piece cut out - - ready to attach to the boat or attach to another panel using the stitch and glue method.
-
Other ways to join sheets of plywood
The easiest joint to make is the butt joint which simply attaches the pieces square end on and reinforcing the connection with a strip (to go on the inside) attached (glued) on one side of the joint.
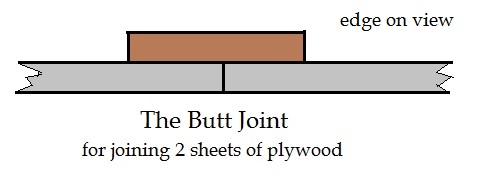
It is easy to do, is strong, however it creates a small stiff section which adversly effects the bending properties. It also creates a bump that needs to be delt with when one side connects with another either directly in stitch-and-glue building or where the plywood joint connects with the chine log or sheer strake. The problem can be rather straight forwardly taken care of, but it does add a step to the build.
A variation on the Butt joint is the Fiberglass-Epoxy Butt Joint
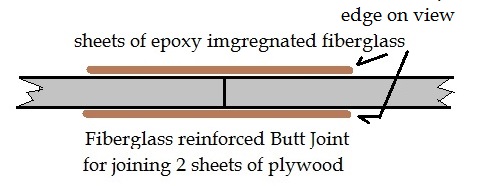
This minimizes the stiff section problem and minimizes but does not eliminate the connection problem.